Modulation
Modulation is one of the most powerful and dynamic features of Chromatik. Nearly every parameter in the application can have its value automatically modified by algorithmic or interactive inputs, enabling Patterns and Effects with very simple controls to generate rich, expressive outputs.
Boolean trigger mapping can be used to create chains of complex events and transitions from simple inputs.
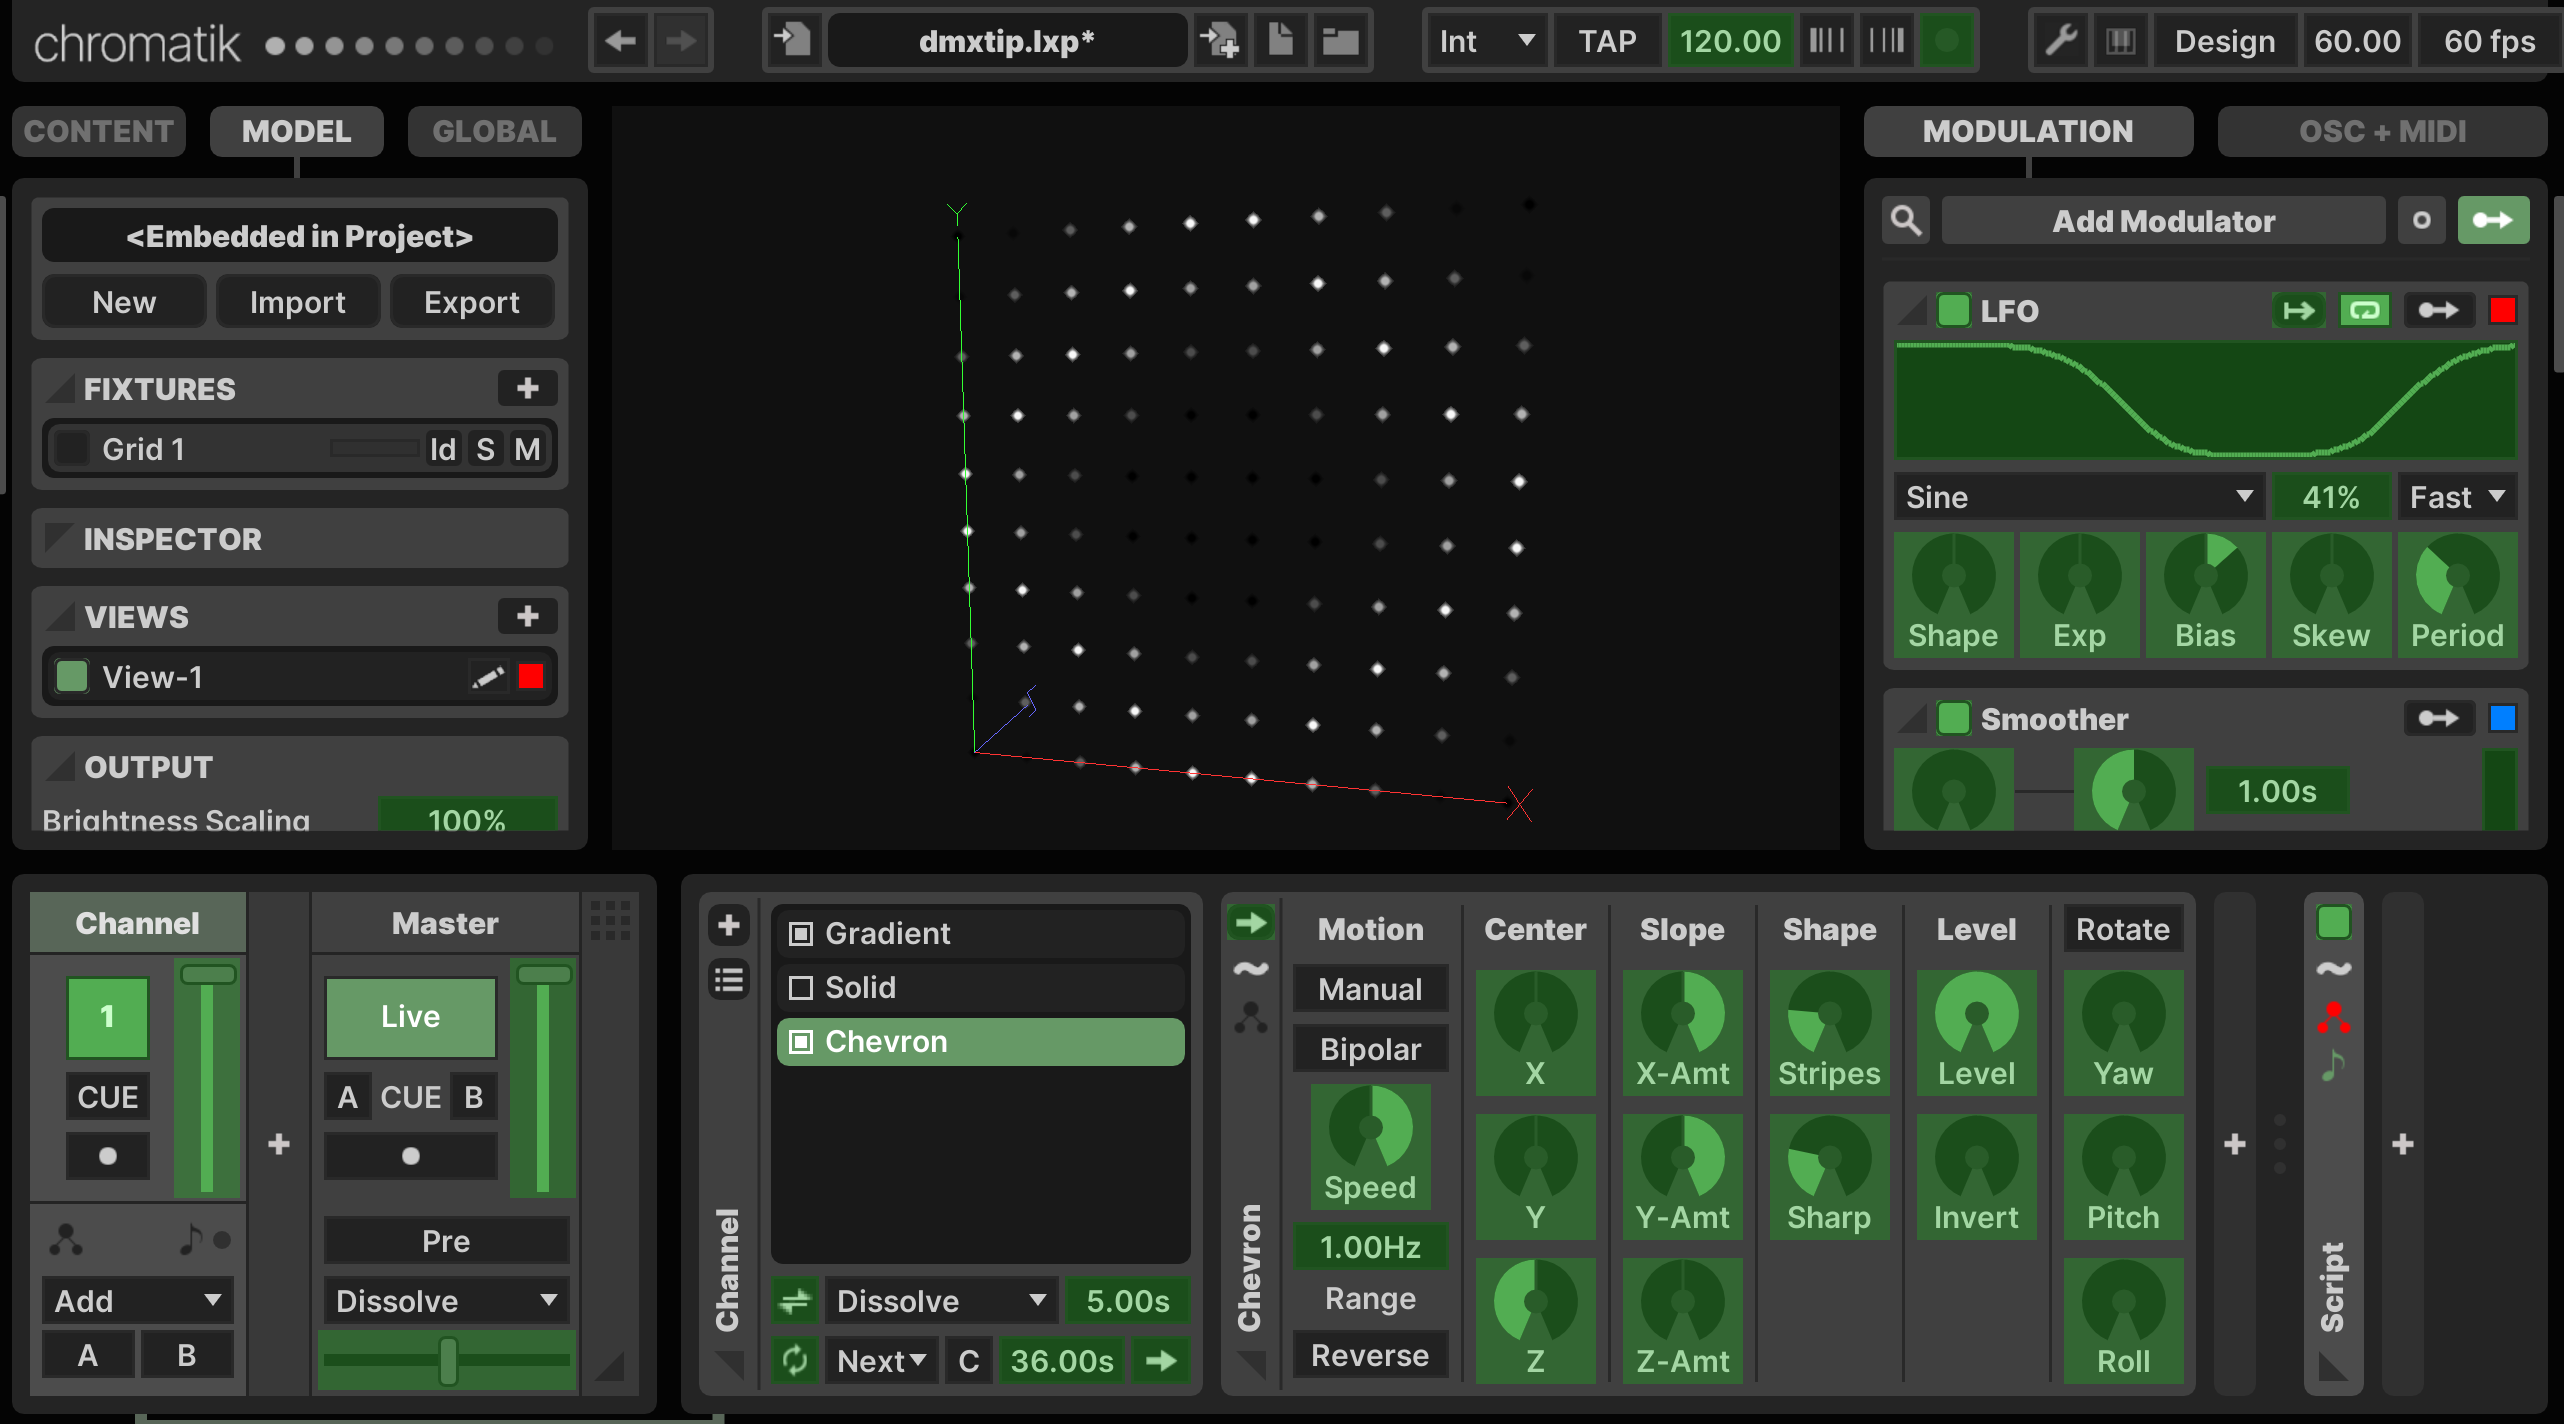
All of this functionality is available in the right-pane MODULATION tab.
Modulators
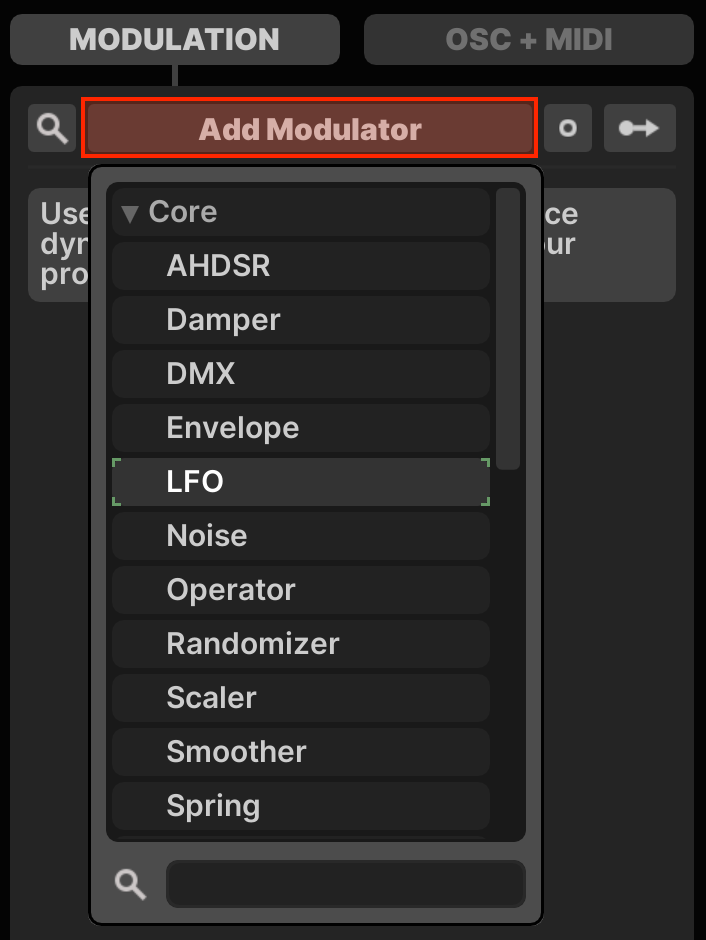
Use the button to bring up the Modulator Chooser. Add a Modulator by double-clicking or pressing RETURN.
Modulators appear as a list of Modulator Controls. They may be expanded/collapsed using the triangle button in the top-left corner. Right-click the triangle to expose a context menu with options to quickly Expand All or Collapse All modulators.
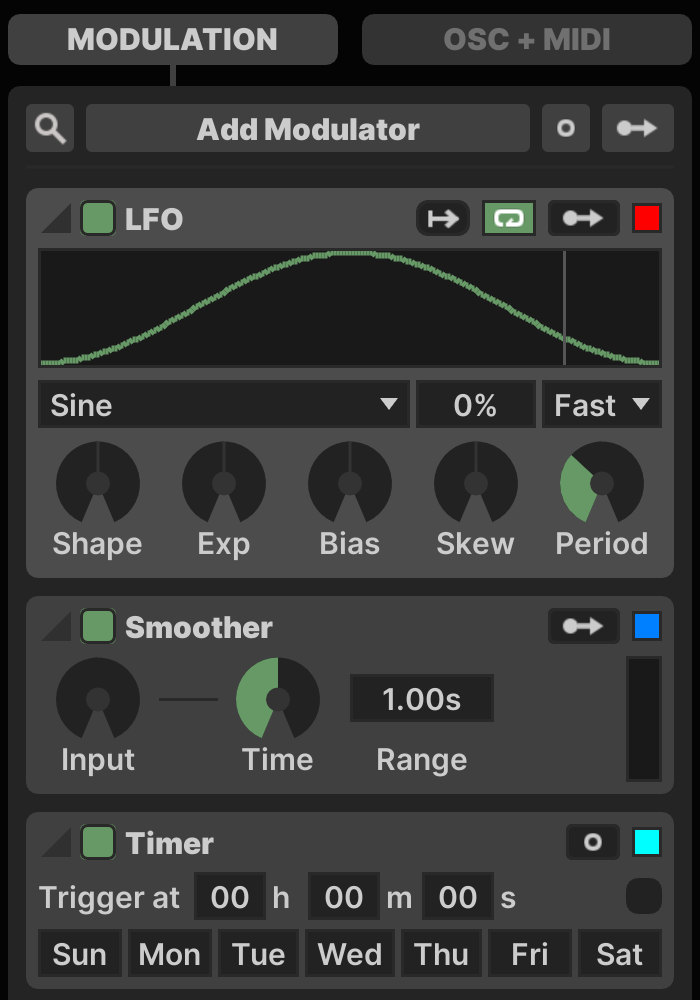
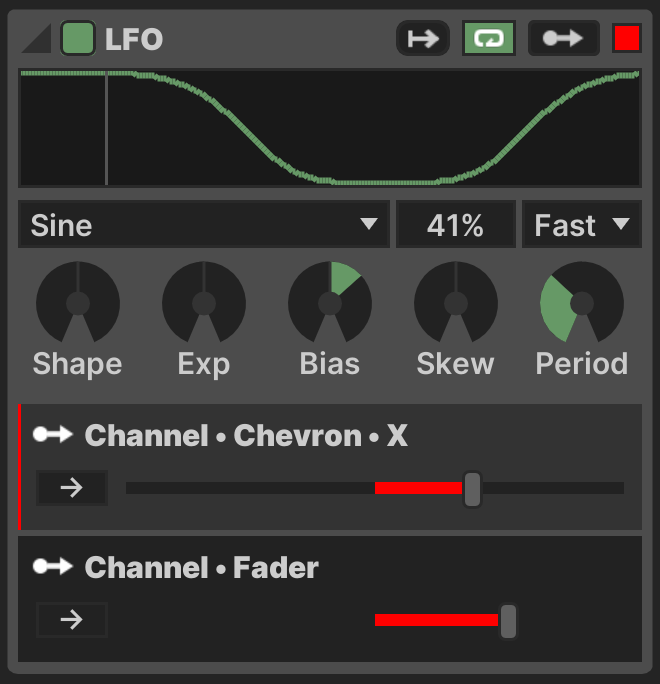
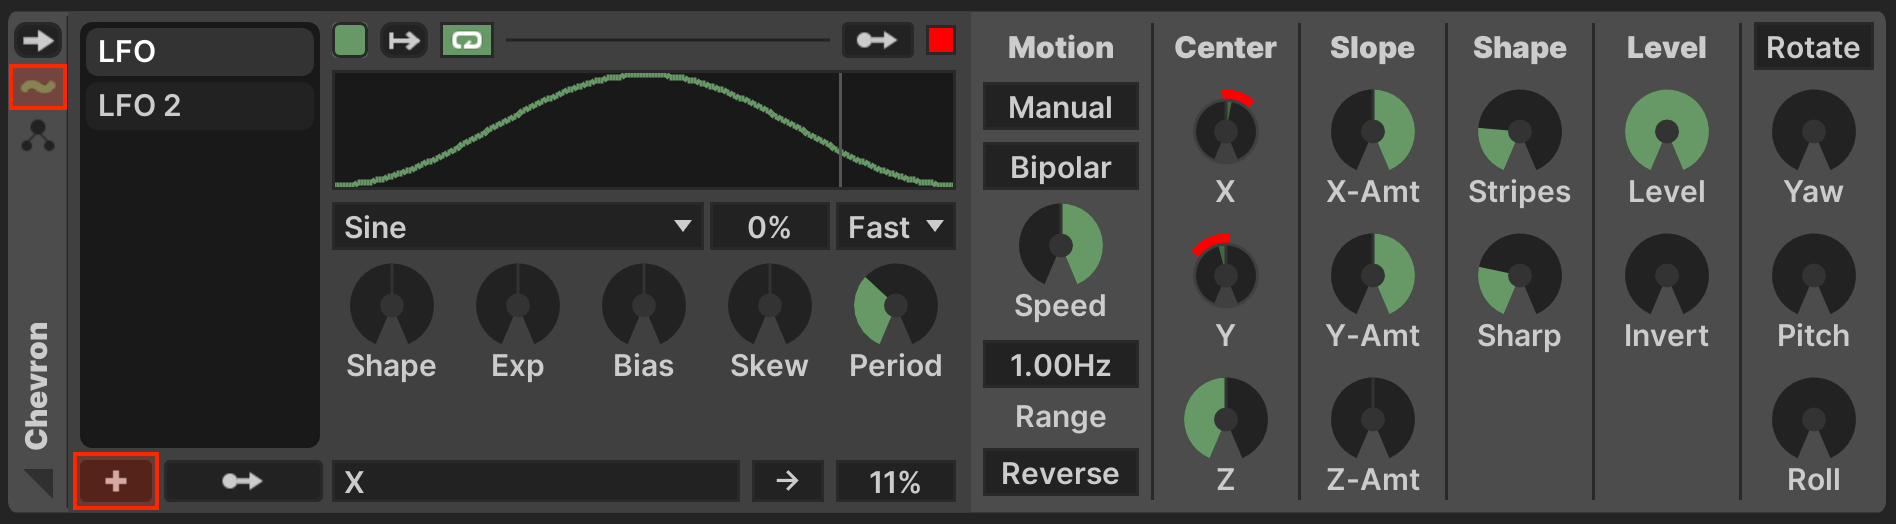
Each Modulator has a series of elements in its title bar, depending upon the modulator type. Note that not every modulator has every one of the following controls.
- Expand/Collapse: View state of the Modulator Controls
- Running:
 Toggle whether this Modulator is on or off
 - Label: Rename with ⌘R
- MIDI:
 MIDI filter settings, if supported
 - Trigger:
 Activate Modulator and restart its cycle
 - Looping:
 Whether a periodic Modulator automatically repeats
 - Parameter Map:
 Create a new parameter mapping from this source
 - Trigger Map:
 Create a new trigger mapping from this source
 - Modulation Color:
 A color chooser used to reference this Modulator elsewhere in the UI
Modulators may be renamed with ⌘R, reordered with drag-and-drop or ⌘↑ + ⌘↓, duplicated with ⌘D and deleted with DELETE.
For details on the use of specific Modulators, see Modulator Reference →
Filtering Modulators
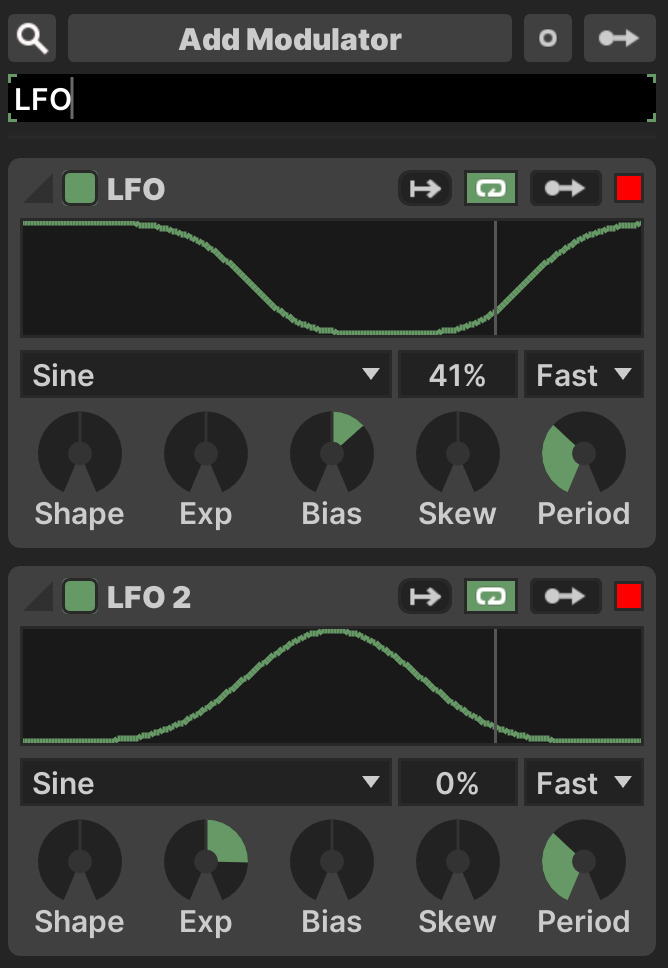
When working with many modulators, you can quickly limit the right-pane MODULATION tab by using the Filter control. Only Modulators with labels that contain the search query are displayed.
Global Modulation
There are global Trigger Map and Parameter Map buttons at the top of the MODULATION tab, to the right of the button.
Mapping mode can be entered using one of these buttons or by pressing ⌘M.
- Every eligible mapping source is highlighted green
- Single-click on the source you wish to map
- Eligible destinations are highlighted blue (the source is outlined)
- Single-click on the destination
Note that mapping sources do not strictly have to be modulators! Most parameters in the system can be used as mapping sources, allowing you to design arbitrary creative links between the behavior of different components.
Parameter Mapping
Parameter Mapping is used for mappings between sources and destinations that operate on continuous numeric values. Typically these are exposed as knobs and sliders in the UI.
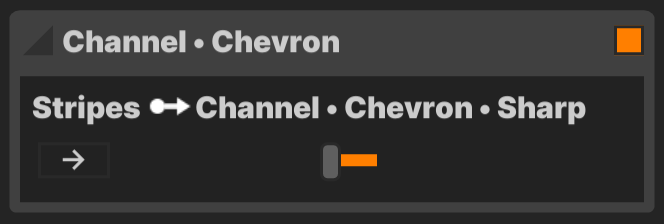
When a Parameter Mapping is created, it is shown on the Modulator that it is sourced from. The Polarity and Range of the modulation can be controlled here.
Unipolar mappings apply the full modulator range in a single direction.
Bipolar mappings apply the modulator's value in both directions. Values above 0.5 represent positive change and those below 0.5 represnt a negative change.
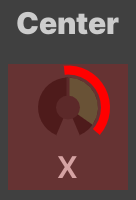
Parameter Targets
If the target is a knob or slider, the modulation is also dynamically indicated directly on the control. The Range of modulation on a knob or slider can be directly controlled by holding the ⌘ key while clicking + dragging the mouse to operate the control, indicated using the Modulation Color of the source. The modulated value is also shown in real-time in a darker shade of green, relative to the control's base position.
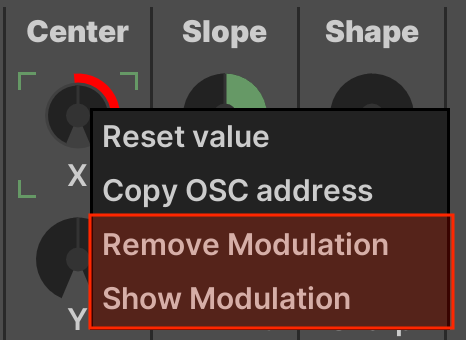
You can right-click on a control that is being modulated to quickly Remove Modulation or Show Modulation, which focuses this mapping in the right-pane MODULATION tab.
Parameter Sources
If the source of a Parameter Mapping is not a Modulator, an entry for the source component is created in the right-pane. The title bar indicates the label of the source component and cannot be renamed.
Hiding Mappings
If a Modulator has a large number of mappings which you are finished configuring, it may be desirable to hide them from display to free up UI space to view other controls.
Right-click the Expand/Collapse triangle in the top-left corner of the Modulator Controls and choose Hide Mappings from the context menu. This option is replaced by Show Mappings when the mappings are hidden.

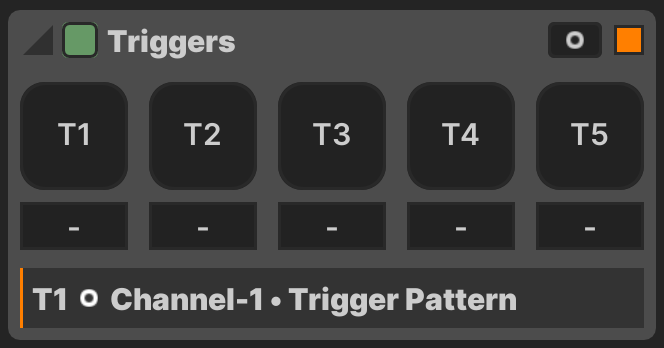
Trigger Mapping
Mapping between boolean parameters with On/Off values is called Trigger Mapping. There are two types of boolean parameter.
- Toggle: switches between On and Off when pressed, also referred to as a Switch
- Momentary: On while pressed, Off when released, also referred to as a Trigger
These mappings are created using the same procedure as Parameter Mappings, either click the Trigger Map button on a Modulator or press ⌘M.
Note that Trigger Mappings are processed whenever there is a change in the source parameter's value. They are not updated on a continuous basis, e.g. you can still manually change the value of a destination parameter after a Trigger Mapping has been applied. It will not be re-applied until the next time the source parameter is explicitly changed.
Trigger Mappings can create cascading chain reactions, if parameter A modulates B, and B modulates C, then an explicit change to A may result in changes to both B and C.
Each Trigger Mapping has a configurable behavior, depending upon the type of source and destination parameter.
Toggle → Toggle

- Direct: Set the destination to match any source change
- Invert: Set the destination to the opposite of any source change
- Any Change → On: Switch the destination On for any source change
- Any Change → Off: Switch the destination Off for any source change
- Any Change → Toggle: Toggle the destination for any source change
- On → On: Switch the destination On only when the source switches On
- On → Off: Switch the destination Off only when the source switches On
- On → Toggle: Toggle the destination only when the source switches On
- Off → On: Switch the destination On only when the source switches Off
- Off → Off: Switch the destination Off only when the source switches Off
- Off → Toggle: Toggle the destination only when the source switches Off
Toggle → Momentary
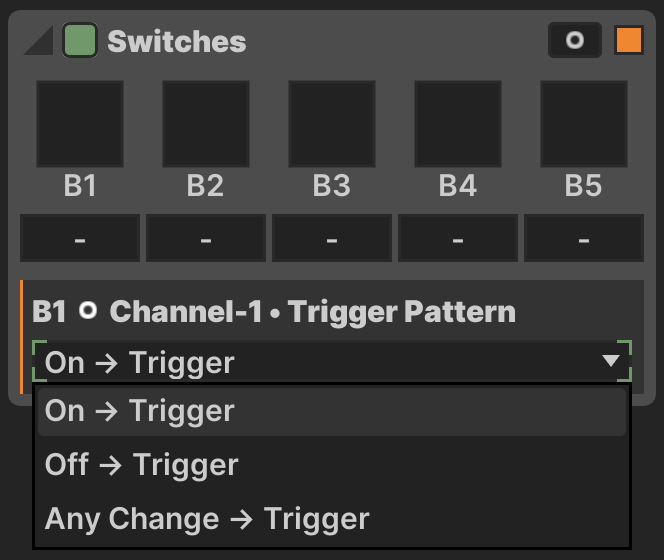
- On → Trigger: Trigger the destination only when the source switches On
- Off Change → Trigger: Trigger the destination only when the source switches Off
- Any Change → Trigger: Trigger the destination for any source change
Momentary → Toggle
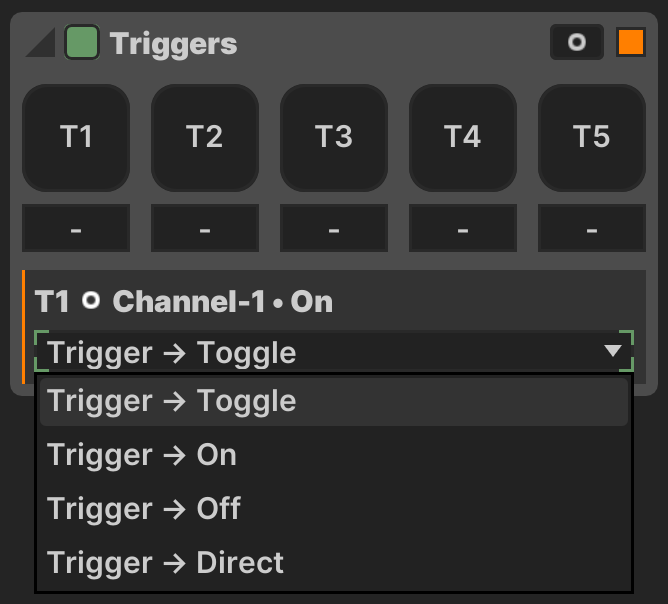
- Trigger → Toggle: Toggle the destination when the source switches On
- Trigger → On: Switch the destination On when the source switches On
- Trigger → Off: Switch the destination Off when the source switches On
- Trigger → Direct: Set the destination to match any source change
Momentary → Momentary
This option is not configurable, it always behaves as a Direct mapping, with the destination triggering any time the source triggers.
Device Modulation
Often you may wish to use a Modulator only to modify parameters of a single Pattern or Effect, and it may be useful for those mappings to be stored and recalled with the device across duplication or when loading a Preset.
In this situation you can use the Device Modulation section, accessible via the ![]() button on the Device Controls bar.
button on the Device Controls bar.
Add a Device Modulator using the at the bottom of the Modulator Bin.
Device Modulators in the Modulator Bin may be renamed with ⌘R, reordered with ⌘↑ + ⌘↓, duplicated with ⌘D and deleted with DELETE.
Note that Pattern Modulators are only run when the given Pattern is active.
Mappings
Create a mapping by using the button at the bottom of the Modulator Bin or on the top row of Modulator Controls. Only destination parameters which belong to this device are eligible. Note that if a Pattern has its own Effects, their parameters are also eligible destinations for a Pattern Modulator.
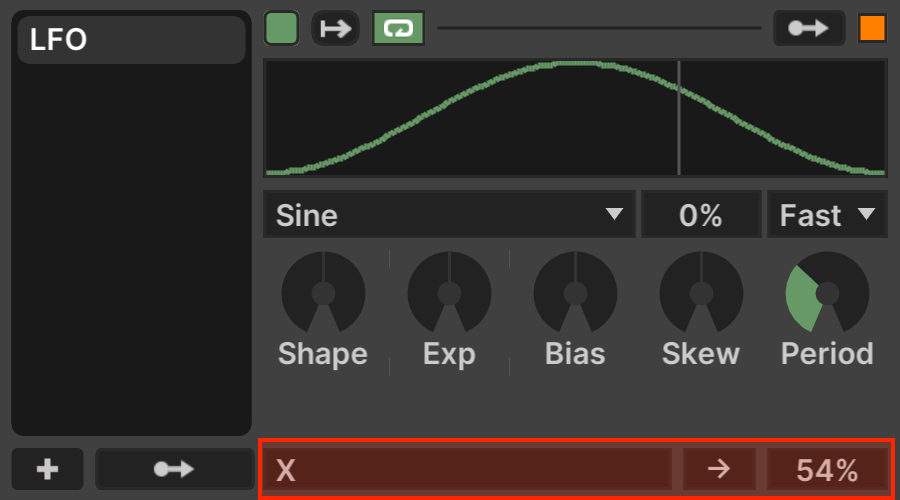
Mappings are shown beneath the Modulator Controls. If a Device Modulator modulates multiple destinations they can be selected by pressing ↑ + ↓ in the Destination Label box.
Remove a Mapping by pressing DELETE in the Destination Label box.